
You can use Templates to create its Instances. This is particularly important when you need to send same or similar TMails, every time. For example, to send a ‘Welcome TMail’ to a new Person in the sales team, or to send a ‘Product Pricing and Quote’ to a new lead.
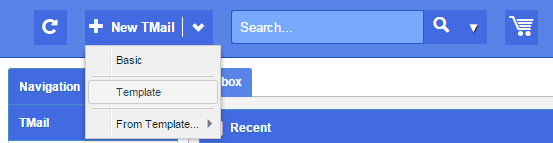
Click on the small down arrow next to New TMail button. Select Template option, as below.
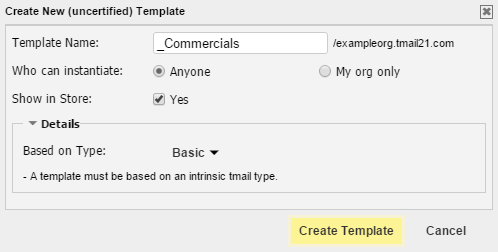
The Create New (uncertified) Template window appears, as below.
Note: You can create certified and uncertified Templates just as you have an option to create certified and uncertified TMails. Please see Certified TMails and Templates for more details.
Specify following details for this new Template.
- Template Name: Write the name of new Template.
- Who can instantiate: Select the option as Anyone, if you want that this Template is instantiated by any Writer who has a TMail account. Select My org only option, if you want that this Template is available to only those Writers who are part of your Organization only.
- Show in Store: Select the Yes option to list this new Template in the Template Store. (Please see Template Store for more details.)
- Click on arrow available corresponding to the Details text. By default the type of Template is selected as Basic.
Click on Create Template button. The Template details open in a new tab, as below.
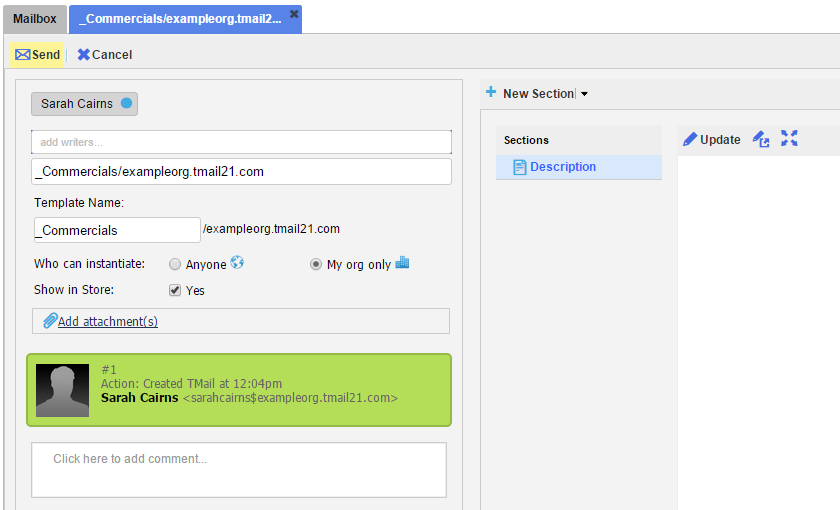
You can change the basic details such as the Template Name, Who can Instantiate, and whether to show the Template in Template Store.
In addition, add the following details.
Add Writers
Write names of Writers whom you want to add to this Template. (Please see Add Writers for more details.)
Add Attachments
Click on Add attachments link and select the documents that you want to Attach with this Template. For any document or file that you Attach, you can see its name and type.

Click on the corresponding Remove option to remove it from this Template.
Add Comments
This is the main Comment area where you can write the descriptive notes for this Template. For the text, a small toolbar is available for basic text formatting, such as to change the text size, format it for lists, text color, and so on.
Sections
In the right side area, you can add Sections for your Template. (Please see About Sections for detailed instructions.). There is a default Section Description that you cannot rename or delete. You can add description to this Section to explain the purpose of this Template. This Description Section is not a part of any Instance that you create from a Template. You can create more Sections for this Template and all these custom defined Sections are copied into any Instance that you create from the Template.
Send
Click on Send button and the Template is sent to the associated Writers.
After you send a Template, it is not immediately available in Template Store, for use. You need to Release a new Template at least once, and after that Template is available in Template Store. (Please see Create Template Release for detailed instructions.)
Other Actions
Close: Select this option to close this tab. The new Template is saved in Drafts folder and you can continue working on it later. (Please see The Drafts Folder for more details.)
When you start adding details such as for Writers, Attachments, or Comments, the Template is automatically saved in Response Drafts folder. (Please see The Response Drafts Folder for more details.) When the Template is automatically saved, you see an additional option as Delete and Close. Click on this button to discard this new Template. This discarded Template is not saved anywhere for later reference.

