
6 Steps to Rocking TMail!
Earlier this week, we launched our Private Beta, and have been excited at the response. Thanks again for sticking around with us in our quest to maximize enterprise productivity. We know you’re probably not up to speed on the entirety of TMail just yet, so we’ve created a list of jumping off points to get you going. As always, if any questions or concerns come to mind, don’t hesitate to contact our support team!
1. Create Your First TMail!
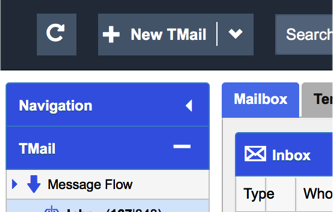
To create your first TMail, click the + New TMail button in the top right hand corner of the dashboard. From Here, you can build out your very first TMail in the same intuitive way you create a new email. Also located in this area is the inbox refresh button, to update your sent and received mail.
2. Creating A New Section
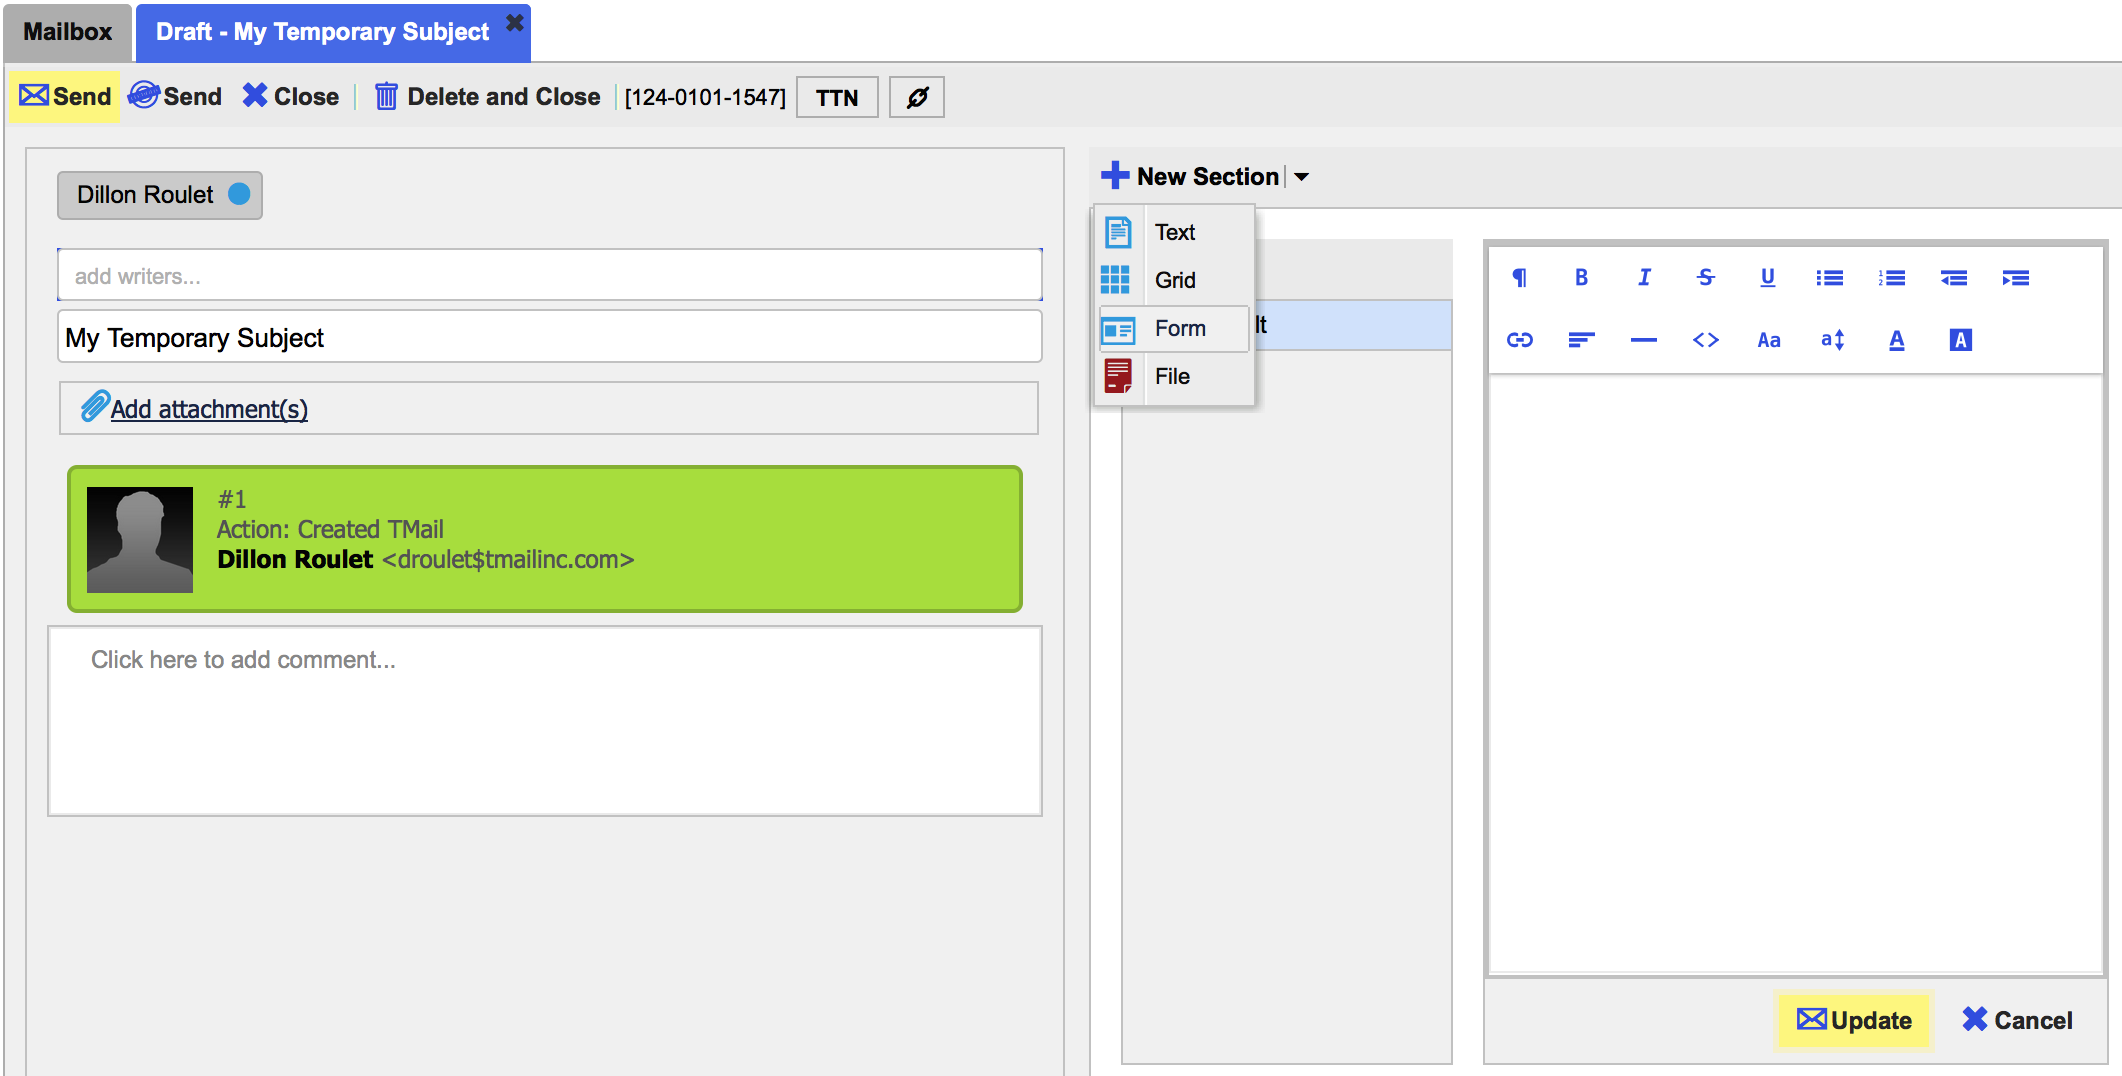
Creating a new section is quick and easy. When adding a section while creating a new TMail, check the right hand side of the dashboard. You should find a default blank section ready to add content. You can also add attachments and forms in the same location.
Sections can also be added in the Quick Respond drop down menu.
3. Adding Attachments and Documents to a TMail
In TMail, there are two options for adding attachments. You can send an attachment along with a comment by clicking the Add Attachment(s) button just below the subject line.
You can also add a document to your TMail as a section, which can be viewed, edited and updated by multiple users. This is most useful when collaborating on document creation, as the most updated version is always located in the same spot- a section. To do this, click the arrow next to the + New Section icon and select file. Here, you can upload PDF files, Word documents, Powerpoint presentations or an array of other files.
To update a file, simply open the file section, and click the Update button located at the top right of the document.
4. Organizing Your Inbox
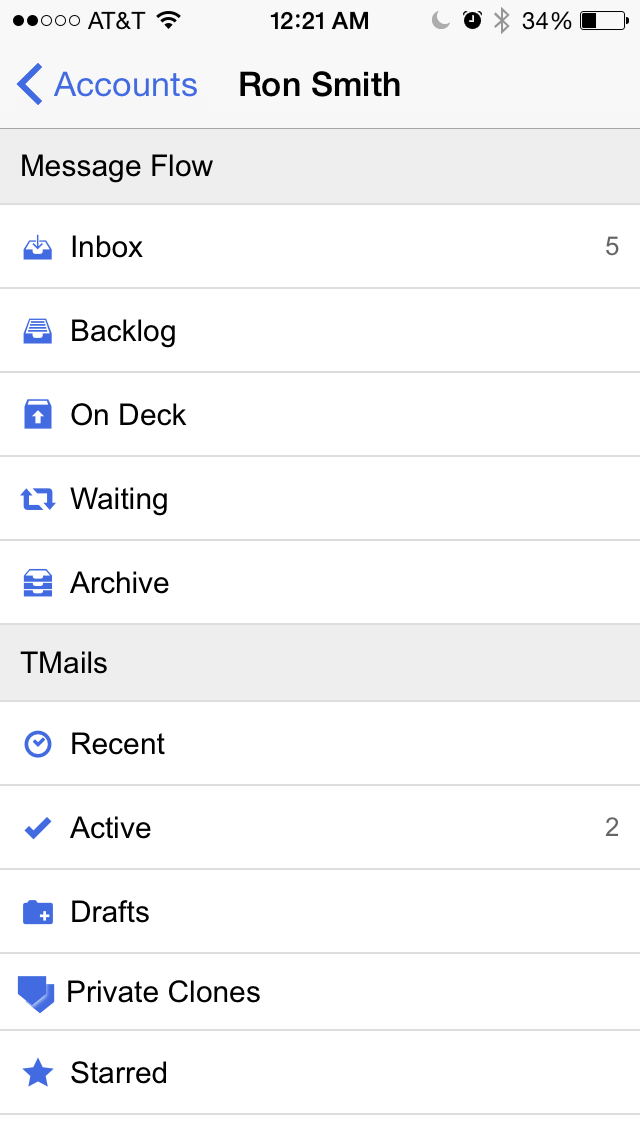
One of our biggest frustrations with traditional email is how cluttered and overloaded our inboxes can get. To solve this, TMail has created the Kanban system which allows users to organize mail into separate categories based on stages. The stages of your TMail inbox are:
1. Inbox – Messages first come here
2. Backlog – Messages I plan to work on sometime in the future
3. On Deck – Messages I am working on right now or will be working on very shortly
4. Waiting – Messages that are waiting on someone else or some other action.
5. Archive – Messages that have been effectively dealt with
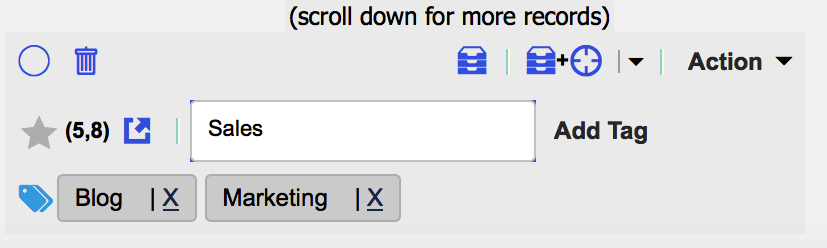
Adding tags is a great way to organize your mail in a personal and relevant way. To add a tag, simply click on a TMail and begin typing tag names in the add tag… box below your mailbox. When done, simply click the Add Tag button, and the tag has been added. You can search for mail based on tags like Marketing, Sales, Q1, Technical, October Project etc.
6. Adding and Creating Forms
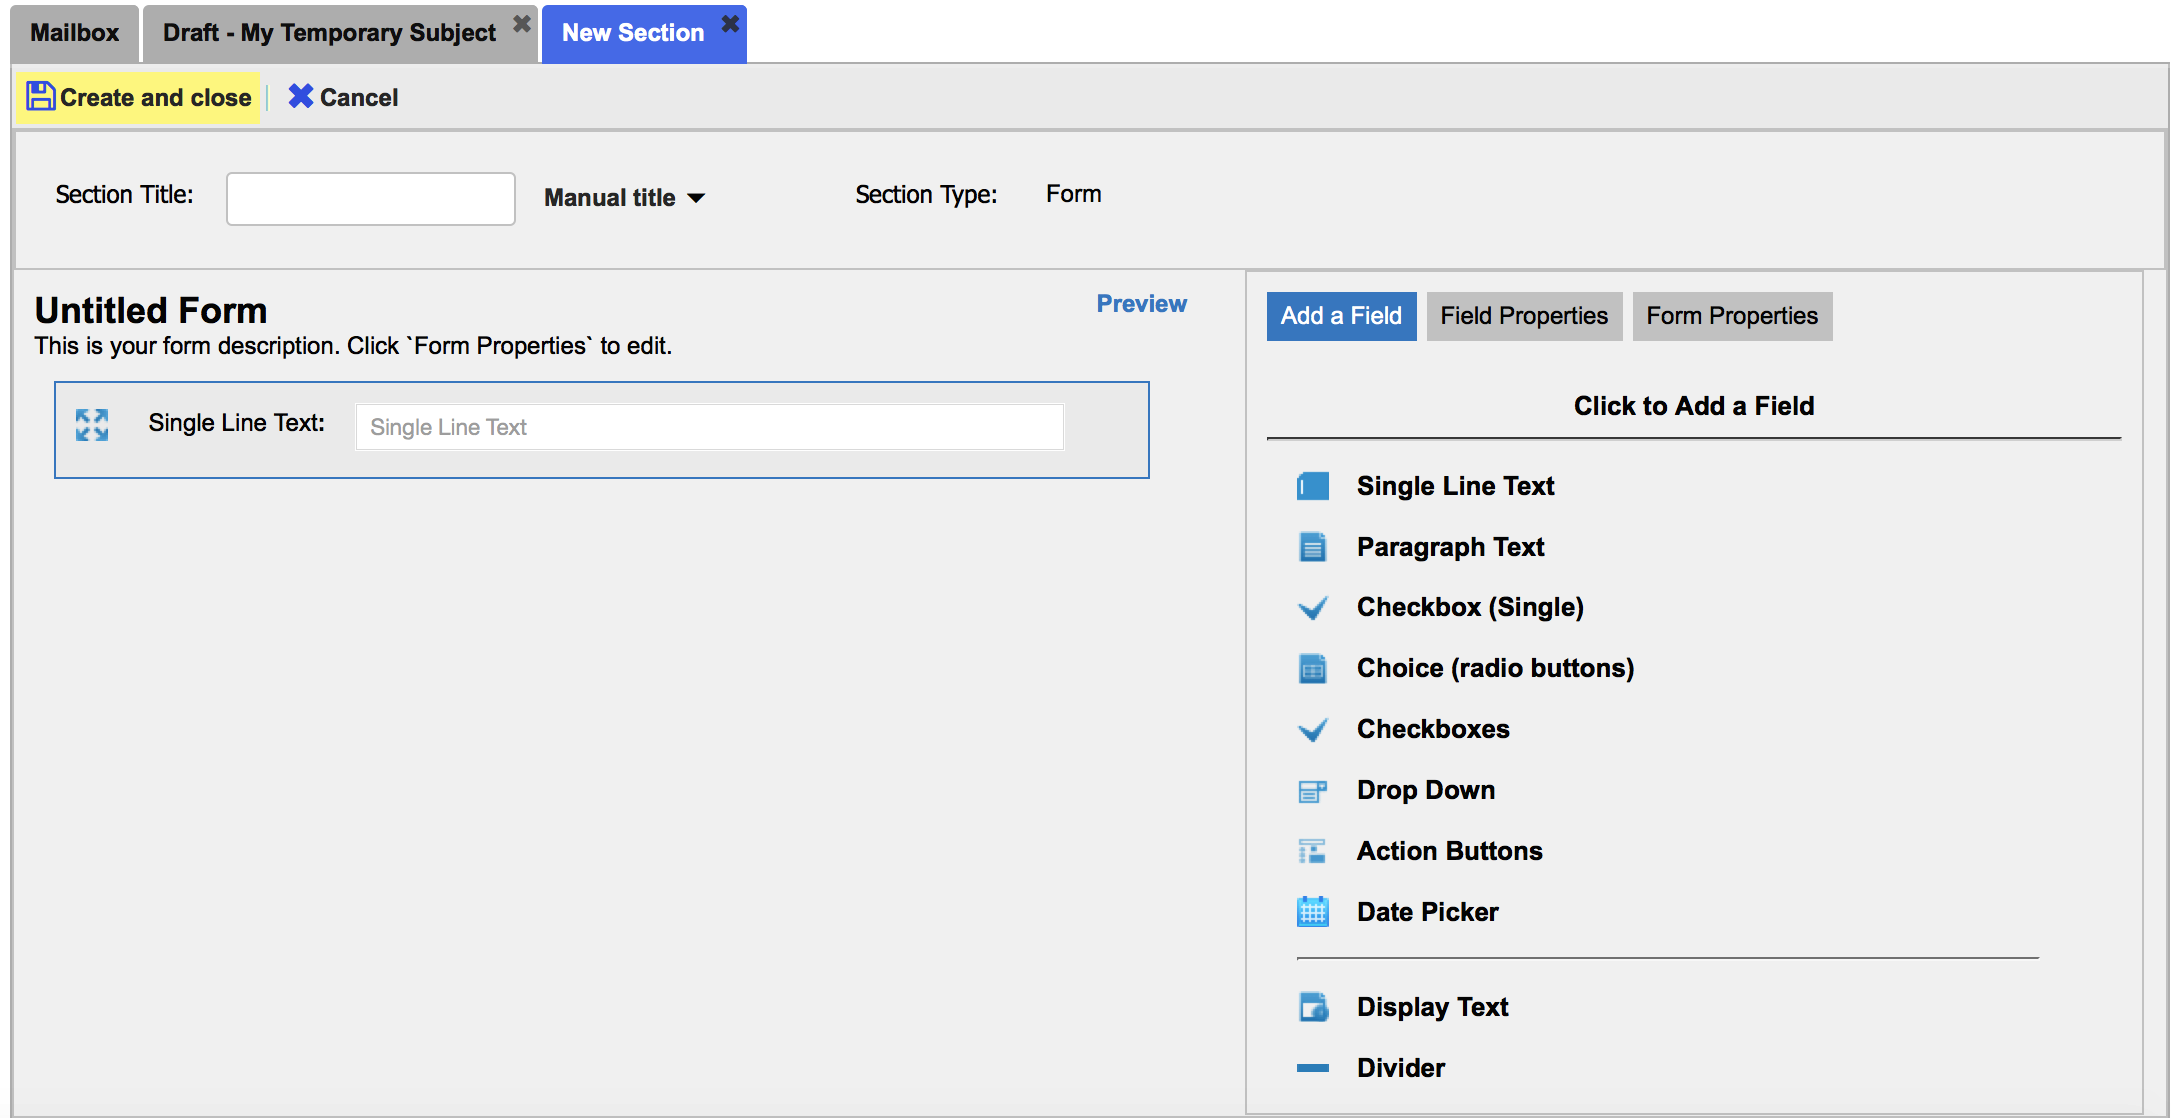
Adding and creating forms is simple and easy. To create a new form, click on the arrow next to the + New Section button and select Form.
From Here, you can customize your new form to fit any need. Add Paragraphs, Single Lines of Text, Date Pickers, Action Buttons and more. Forms are great for process-oriented tasks like building sales pitches, employee performance reviewing, contract negotiations and more. Also, forms are sent as Certified TMails, which ensures all communication is verified and valid.
We hope these tips help you get going on TMail, and we look forward to having you onboard!
For more information on why TMail is so efficient, click here.

